Tuesday, October 19, 2010

Easier isn't always better

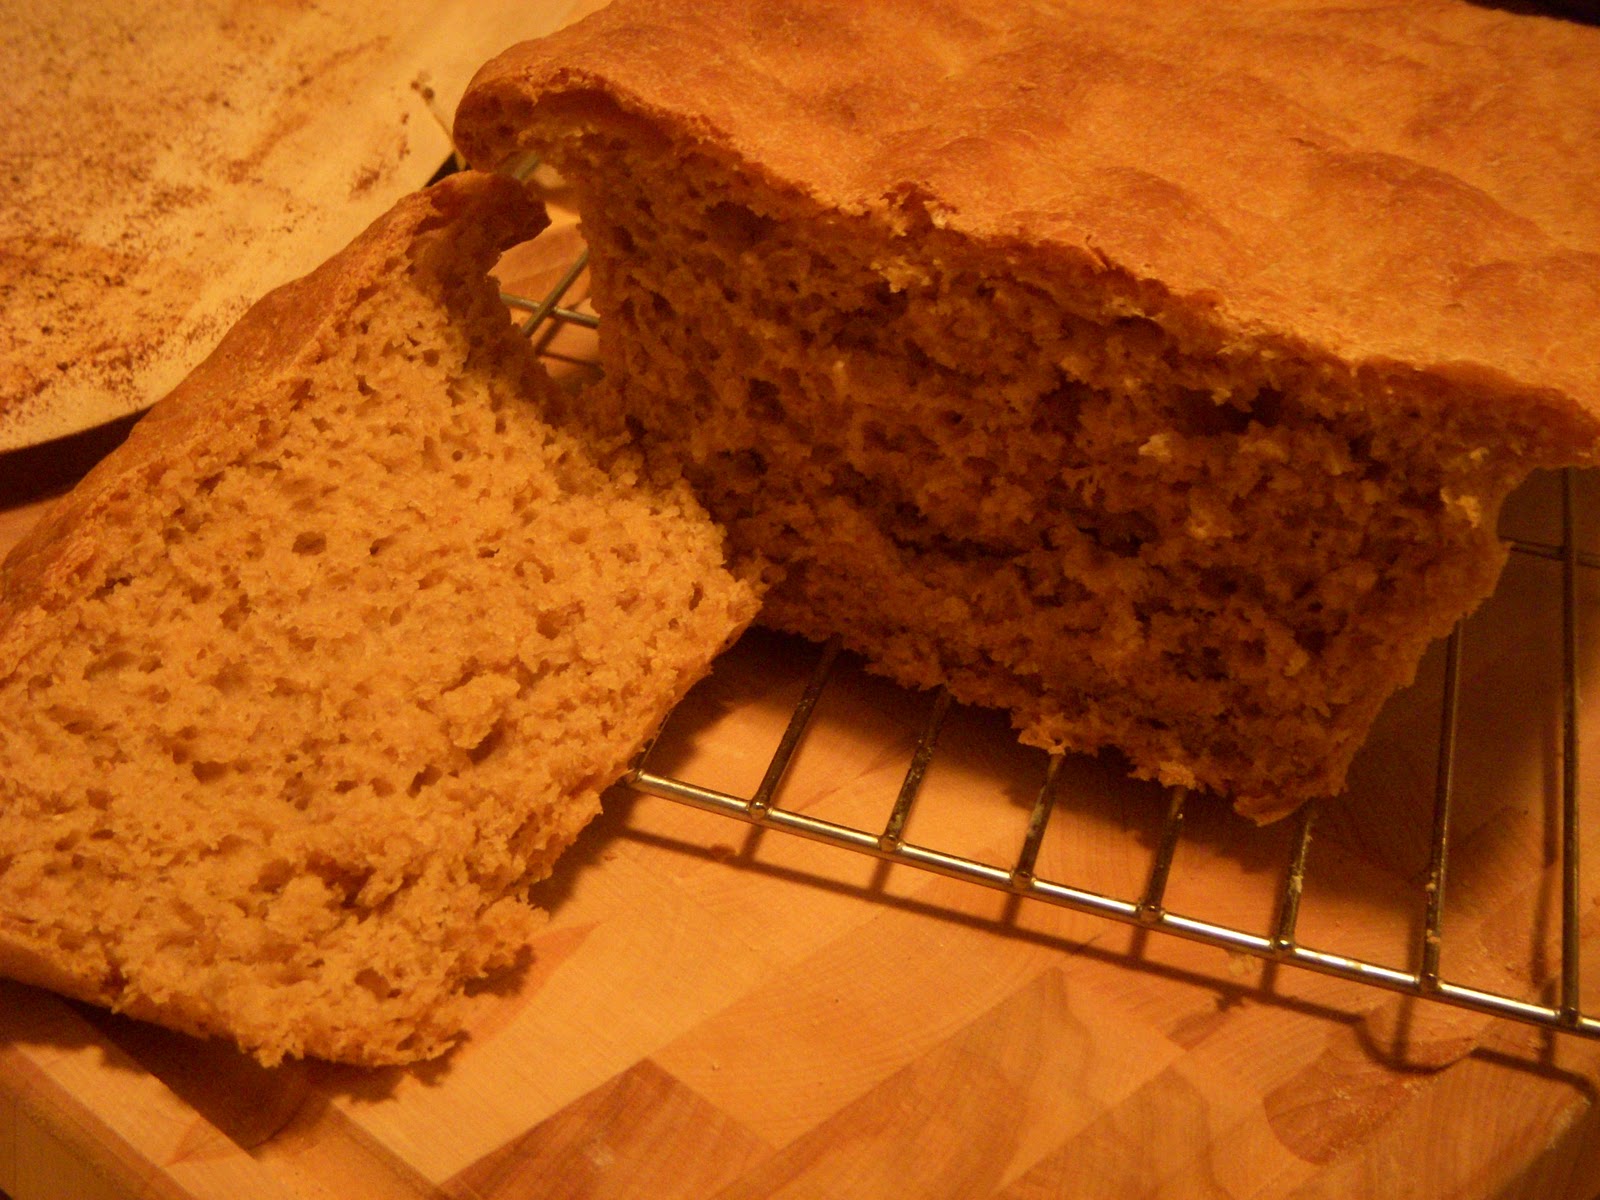
I have a bunch of goat cheese I need to use up, and I thought that a creamy sandwich spread would be delicious.  Only problem - no bread.  So I looked to see if I had any simple recipes, and found one that was perfect.  Very few ingredients, it only makes one loaf, and no kneading required.  I wanted a lighter wheat bread, so I did a 1:2 ratio of wheat to all purpose flour, instead of the 2:1 ratio in the original recipe.  The recipe said to cover the loaf pan with a floured tea cloth during the second rise - since I let mine rise in the oven with the oven light on, I didn't cover it at all.

So this is the good.  The bad....
Well this didn't turn out at all how I thought it would.  I should have been worried after the second rise - the dough rose so high above the top of the pan that I thought it was going to collapse onto itself.  After 10 minutes of baking, some of it had actually dripped down onto the bottom of the oven.  Thank goodness I caught it before anything started burning.  After less than 20 minutes, the top of the bread was completely brown and hard, so I took it out.  I let it cool on a wire rack, in the pan for a while, and then took it out.  The bottom of the loaf was soggy and spongy.  I'm thinking I'm going to have to toss it.

All in all - this sounds like a great loaf of bread, but unfortunately didn't work out for me.  I don't know if I didn't add enough flour, if it rose too much before baking, if it needed to be baked at a lower temperature, or what!  I'm including the recipe anyway in case someone is brave enough to try and see if this works for them.


Recipe: Whole Wheat Sandwich Bread (from One Perfect Bite)
Ingredients:
1 packet active dry yeast
1 1/2 cups warm water
2 tbsp molasses
2 cups all purpose flour, divided
1 cup whole wheat flour, divided
2 tbsp butter, softened
1/2 tsp salt

Directions:
In the bowl of a stand mixer, combine the water, yeast and molasses.  Let sit for ~ 5 minutes, until foamy.  Add 1 cup all purpose flour, 1/2 cup whole wheat flour, butter and salt; mix on medium speed for 2 minutes.  Add remaining flour, and mix just until combined.
Cover the bowl with plastic wrap and sit in a warm spot ~ 1 hour, or until doubled in size.

Pour into a greased 9x5 inch loaf pan.
Cover with a flour-coated tea towel and let rise in a warm spot, or until it fills the pan.

Preheat the oven to 400 F.  Bake in the center of the oven for 30 minutes.  Cool in pan, and then cool completely on a wire rack.


Cooking while fasting - genius idea or huge mistake?

This past Yom Kippur, I had a few friends over to break the fast.  For those of you who don't know, Yom Kippur is a Jewish holiday that is 10 days after the Jewish New Year.  It's the "Day of Atonement," when you're supposed to repent for all of your sins of the past year, and then you start the new year with a fresh slate.  You're supposed to fast to help clear your mind and focus.  And then you get together with your friends and stuff your face :)
I probably technically could have made some of the food in advance, but I wanted everything to be fresh.  Which means that I made most of the food while fasting.  For someone who tastes as she cooks, this was extremely difficult!  Not only did it make me really hungry, but I couldn't check to make sure everything tasted okay.
For some reason, the food at break the fast parties resembles breakfast or brunch food.  There is usually an assortment of bagels, with cream cheese, lox and other toppings.  So I made homemade bagels, and had my friend bring cream cheese and lox.
Kugel is an essential Jewish food.  It's kind of like a bread pudding, but with egg noodles.  The custard is a combination of eggs, butter, sour cream, cottage cheese and cream cheese.  I added in apples and raisins.
Even though kugel is almost a dessert, I needed a real dessert.  I had some leftover buttermilk from a pie (post coming soon), so I used it to make buttermilk chocolate cupcakes.  They were so good!  Not too unhealthy, but really decadent-tasting.  I paired them with a coconut cream cheese frosting - not too sweet, and completely delicious.
So what do you think?  Is it horribly cruel to cook when you can't eat, or is it a great idea to have a ton of food ready for when you can eat?

Kugel with Apples and Raisins:
Ingredients:
4 oz cream cheese, 1/3 less fat (at room temperature)
6 oz unsalted butter, melted
8 oz cottage cheese, reduced fat
1/2 cup sugar
6 eggs

1 pint sour cream, reduced fat
1 tsp vanilla
1 lb medium egg noodles
2 apples, thinly sliced
1/2 cup raisins
cinnamon sugar

Directions:
Preheat oven to 350 F.
Combine the cream cheese, butter, cottage cheese and sugar and beat until smooth.  Add the eggs and beat in, one at a time.  Mix in the sour cream and vanilla and set aside.
Parboil the apples ~2 minutes, until tender.  Drain and set aside.
Cook the egg noodles in boiling water ~6 minutes, until al dente.  Drain, and mix with the creamed mixture.  Add the apples and raisins, toss until mixed well.


Pour into a 9x13 pan, and sprinkle cinnamon sugar on top.  Bake 45 minutes-1 hour, or until the custard is set.  If starting to brown too much, cover with foil.

Let sit ~30 minutes before serving.  Enjoy warm or at room temperature (with a freshly baked bagel).


Recipe: Chocolate Buttermilk Cupcakes (from Picky Eatings)
Ingredients:
3/4 cup dutch processes cocoa powder (I used Hershey's Special Dark)
1 1/2 cups flour
1 cup sugar
1 1/2 tsp baking soda
3/4 tsp baking powder
1/2 tsp salt
2 eggs
3/4 cup warm water
3/4 cup buttermilk
3 tbsp canola oil
1 tsp vanilla extract

Directions:
Preheat oven to 350 F and line a standard cupcake tin with paper liners.
In a large bowl, whisk together the cocoa, flour, sugar, baking soda, baking powder and salt.
Add eggs, water, buttermilk, oil and vanilla, and beat until smooth.
Use an ice cream scoop to fill the cupcake liners.  You may have a little extra batter.
Bake until a toothpick comes out clean and the top is springy, about 20 minutes.  Put on a cooling rack, and then frost once at room temperature.

Coconut Cream Cheese Frosting:
Ingredients:
4 oz cream cheese, at room temperature
1/4 cup butter, at room temperature
1 cup powdered sugar
1/4 tsp coconut extract
1/2 tsp vanilla extract
1/2 cup unsweetened coconut, divided

Directions:
Beat the cream cheese and butter together until smooth.  With the mixer on low, add in the powdered sugar.  Beat until smooth.  Fold in the extracts and some of the coconut.

Smooth on top of the cooled cupcakes, and sprinkle with the remaining coconut.

A Perfect Fall Meal

I have also started having dinner dates with my friend Sarah.  We wanted to make something weather appropriate, so soup seemed like a perfect choice.  She mentioned that she likes Panera's Broccoli and Cheddar soup, so our plan was to try to recreate that.  For dessert, we wanted to use the apples we had just picked from Carter Mountain Orchard.  One of my friends recently made a pumpkin cheesecake that I can't stop thinking about, so we decided to make a cheesecake with apples, but in a bar form.  Like with my dinner date with Jess, we had to make the dessert before making the dinner, since cheesecake needs to be chilled before enjoying.
This dinner was delicious.  We made a TON of soup.  We actually had some concerns halfway through that everything might not fit into her 6 quart soup pot.  Don't worry, we made it all fit :)
We noticed that the soup actually had more of an onion taste than a cheese taste.  I think that next time, I might cook the onions separately.  They were in the soup base the entire time, so it makes sense that it transferred a lot of flavor to it.  I think I would be afraid to add much more cheese - it already had a ton in it!

Broccoli and Cheddar Soup (for an army)
Ingredients:
1/2 cup butter
1 medium-large red onion, chopped
1/2 cup flour
4 cups whole milk
3 cups reduced sodium vegetable stock
24 oz sharp cheddar cheese, shredded (we used a combination of yellow and white)
2 medium-large carrots, cut into bite-sized pieces
2 russet potatoes, peeled and chopped in 1/2-1 inch cubes
2 bunches of broccoli, florets cut up
1/2 tsp nutmeg
1/4 tsp cardamom
s&p

Directions:
In a large stockpot over medium heat, melt the butter.  Add the onions and cook until translucent.  Add the flour, and stir well to incorporate.  Cook for a few minutes, then slowly add the milk while stirring.  Once incorporated, add the vegetable stock.  Cook for several minutes, stirring occasionally.  Then add in the cheese, stirring until melted.

While making the base, cook all of the vegetables.  You can either do this in separate pots, or use one pot at a time.  The potatoes and carrots will take the longest time - cook in boiling water until fork tender.  The broccoli will only take a few minutes, remove from water when bright green and crisp-tender.

When the cheese has melted, add in the potatoes, mashing them slightly to thicken the soup.  Then add in the carrots and broccoli.

Using an immersion blender, blend to desired consistency.  Add s&p to taste.
I love the green and orange flecks from the blended veggies!


Apple Pie Cheesecake Bars
Ingredients:
Crust:
1 cup all purpose flour
1 cup graham cracker crumbs
1 stick butter, softened
1/2 cup brown sugar
1/2 tsp cinnamon

Filling:
3 packages room temp cream cheese (we used 2 packages 1/3 less fat, and 1 package regular)
3 eggs
3/4 cup brown sugar
1 1/2 tsp vanilla
1 1/2 tsp cinnamon

Apples:
3 apples, peeled and thinly sliced
2 tbsp sugar
1/2 tsp cinnamon
1/4 tsp nutmeg

Directions:
Preheat oven to 350 F.
For the crust: Mix the flour, graham crumbs, sugar and cinnamon.  Cut in the butter with a pastry blender or two knives.  Use your fingers to mix together until large clumps form.  Pour in a 9x13 pan and press down to uniform thickness.

Bake for 10-15 minutes, until just barely starting to brown.  Let cool.

For the filling: While the crust is cooling, beat cream cheese and sugar until smooth.  Add the eggs one at a time and beat.  Then stir in the cinnamon and vanilla until well combined.


For apples: Mix together the apples, sugar, cinnamon and nutmeg until the apples are coated.
Pour ~1/3-1/2 of the filling on the (slightly cooled) crust, spread to cover crust.  Spread out the apple slices on top, then pour the rest of the filling over the apples.

Bake 30-45 minutes, or until the filling is set and lightly browned.  If starting to brown too early, cover with tented foil.

Cool until warm, and then cool the rest of the way in the fridge.  Cut into squares with a sharp knife.

Since marshmallows do not = dinner

I promise, we did not just eat s'mores for dinner the other night.  We started with a delicious goat cheese pizza and salad.
Jess and I share an obsession with goat cheese.  After we chose a date for dinner (something that needs to be done many weeks in advance since Jess is one of the busiest people I know), I then scoured my list of recipes for anything and everything using goat cheese.  I came across a really interesting recipe for pizza with a goat cheese sauce.  It ended up being perfect - we had a lot of the ingredients in our own kitchens, so it was really cheap to make.
To go with it, we made a really simple salad.  The original plan was to make a salad with pan fried goat cheese rounds, but after making the marshmallows (that was the first thing we did, since they take a while to set), and then assembling the pizza, simplicity was our friend.  And crumbled goat cheese won out.
Always drink wine while cooking :)

Recipe: Whole Wheat Pizza with Goat Cheese and Veggies (adapted from Cake, Batter and Bowl)
Ingredients:
1 lb of your favorite whole wheat pizza dough (Trader Joe's has a great one that's cheap)
1 tbsp olive oil
10 oz fresh, sliced mushrooms (I used baby bellas for good flavor)
2 cloves garlic, minced
~6 oz fresh spinach and arugula (I had some leftover from salad)
6 oz goat cheese
3 oz (6 tbsp) milk (any kind works fine here, I used skim because it's what I had)
1/4 cup grated Parmesan cheese
1/2 tsp salt
1/4 cup chopped red onion
1 tomato, chopped
1 cup shredded part-skim mozzarella cheese

Take out your pizza dough, if refrigerated.  It rolls out best when it's close to room temperature.
Put your pizza stone on the middle rack of your oven and preheat at 450 F.  The instructions that came with my stone say to preheat it at 450 F for 30 minutes before using so I always do that - if yours says anything different, then just go with that.
Heat oil in a nonstick skillet (use a pretty big one) over medium heat.  Add the mushrooms and cook until softened.  Add spinach (and arugula, if using) and garlic, and cook until wilted.  Remove from the heat.

Roll out the pizza dough on a lightly floured surface into whatever shape you want.  (Just make sure it'll fit on your pizza stone!  Mine is a rectangle, so it supports almost any shape/size.)  We rolled it into a ~14 inch diameter circle.

In a small bowl, mix the goat cheese, milk, salt and parmesan together until creamy.

When the oven has preheated, put the pizza dough on a cornmeal-coated pizza peel and slide onto the pizza stone (which should also be coated with cornmeal).  My dad loves this aspect of pizza baking - he calls the cornmeal his "ball bearings."
Cook the pizza for ~3 minutes, just until it starts to hold shape a bit.  I always par-bake my pizza crust before adding toppings so it can crisp up a bit, and handle a heavy load of toppings without getting soggy.  If it starts to bubble up, just pop the bubble with a fork or the tip of a sharp knife.
Using the pizza peel, take the pizza back out of the oven.  Spread the goat cheese mixture on top, leaving a border for the crust.  Top with the mushroom and spinach mixture (warning - my mushrooms let out a lot of liquid, so I used a slotted spoon to pick them up and then pressed down with another spoon to push out as much liquid as possible.)  Sprinkle the red onions on top, and then the tomatoes on top of that.

Top with the mozzarella cheese, and then (carefully) slide back onto the pizza stone.  Cook for ~10 minutes, or until the crust gets crisp and the cheese is bubbling and golden.
Remove using the pizza peel, and let it sit for a few minutes before slicing up and enjoying!


Arugula Salad with Beets and Goat Cheese
This recipe is pretty basic - take a bunch of arugula, top with sliced roasted beets (Trader Joe's has them in the refrigerated section, pre-roasted.  Very handy.)  Crumble fresh goat cheese on top.  We made a simple vinaigrette using Trader Joe's Orange Muscat Champagne vinegar, red wine vinegar, extra virgin olive oil, salt and pepper.

Enjoy your dinner with (more) wine!

Monday, October 18, 2010

I want some more

My plan had been to post everything I've made in the past 2 months chronologically.  Well, I couldn't wait to post this.
I've been having dinner dates with my friend Jess, and we always try to think of something creative to make.  Well after I made homemade graham crackers (coincidentally, the last food item I posted), I told Jess about it, and we decided that a homemade s'more was definitely in order.  Jess is allergic to corn syrup, so we scoured the internet for marshmallow recipes that don't use any.  After figuring out the rest of our menu (goat cheese pizza and salad, coming soon), we decided that making both the graham crackers and the marshmallows in one evening would be a little too ambitious.  Some thick old fashioned cinnamon graham crackers from Trader Joe's definitely did the trick.  As well as a square of good quality dark chocolate.
You really have to make these marshmallows.  So simple to make.  I still don't completely understand how they got so fluffy!  This is a great recipe for anyone with food allergies, as well.  Next time I want to try to have some fun with them - maybe add some food coloring, or a different extract or spices.  I would also want to try making them in a bigger pan, so they aren't quite as tall.

Recipe: Homemade Vanilla Marshmallows (from Sugar Plum)
Ingredients:
2 tbsp unflavored gelatin (2 Knox envelopes)
1/2 cup cold water
pinch salt
2 cups granulated sugar
3/4 cup water
1 1/2 tsp vanilla extract
butter to grease the pan
powdered sugar to coat the pan

Directions:
In the bowl of a stand mixer, dissolve the gelatin in 1/2 cup cold water.  Over medium heat, stir the sugar, salt and 3/4 cup water until dissolved.  Once it comes to a boil, let it boil for ~15 minutes, until it reaches 236 degrees F.  (Contrary to popular belief, you don't need a candy thermometer.  I used just a regular probe thermometer and it worked just fine.  Just make sure you are careful when taking it in and out of the hot sugar, and that you run it under hot water after you take it out.)

When the sugar syrup reaches 236, take it off the heat and slowly pour it into the mixing bowl, while on low speed.  Add the vanilla.  Turn it up to medium, and beat for 20 minutes, until white, fluffy and partially cooled.  It will get REALLY fluffy.
Action Shot :)

While it's beating, prepare your pan.  Use an 8x8 or 9x9 inch baking pan, and line with parchment paper or wax paper.  Butter the paper, and then dust with powdered sugar.
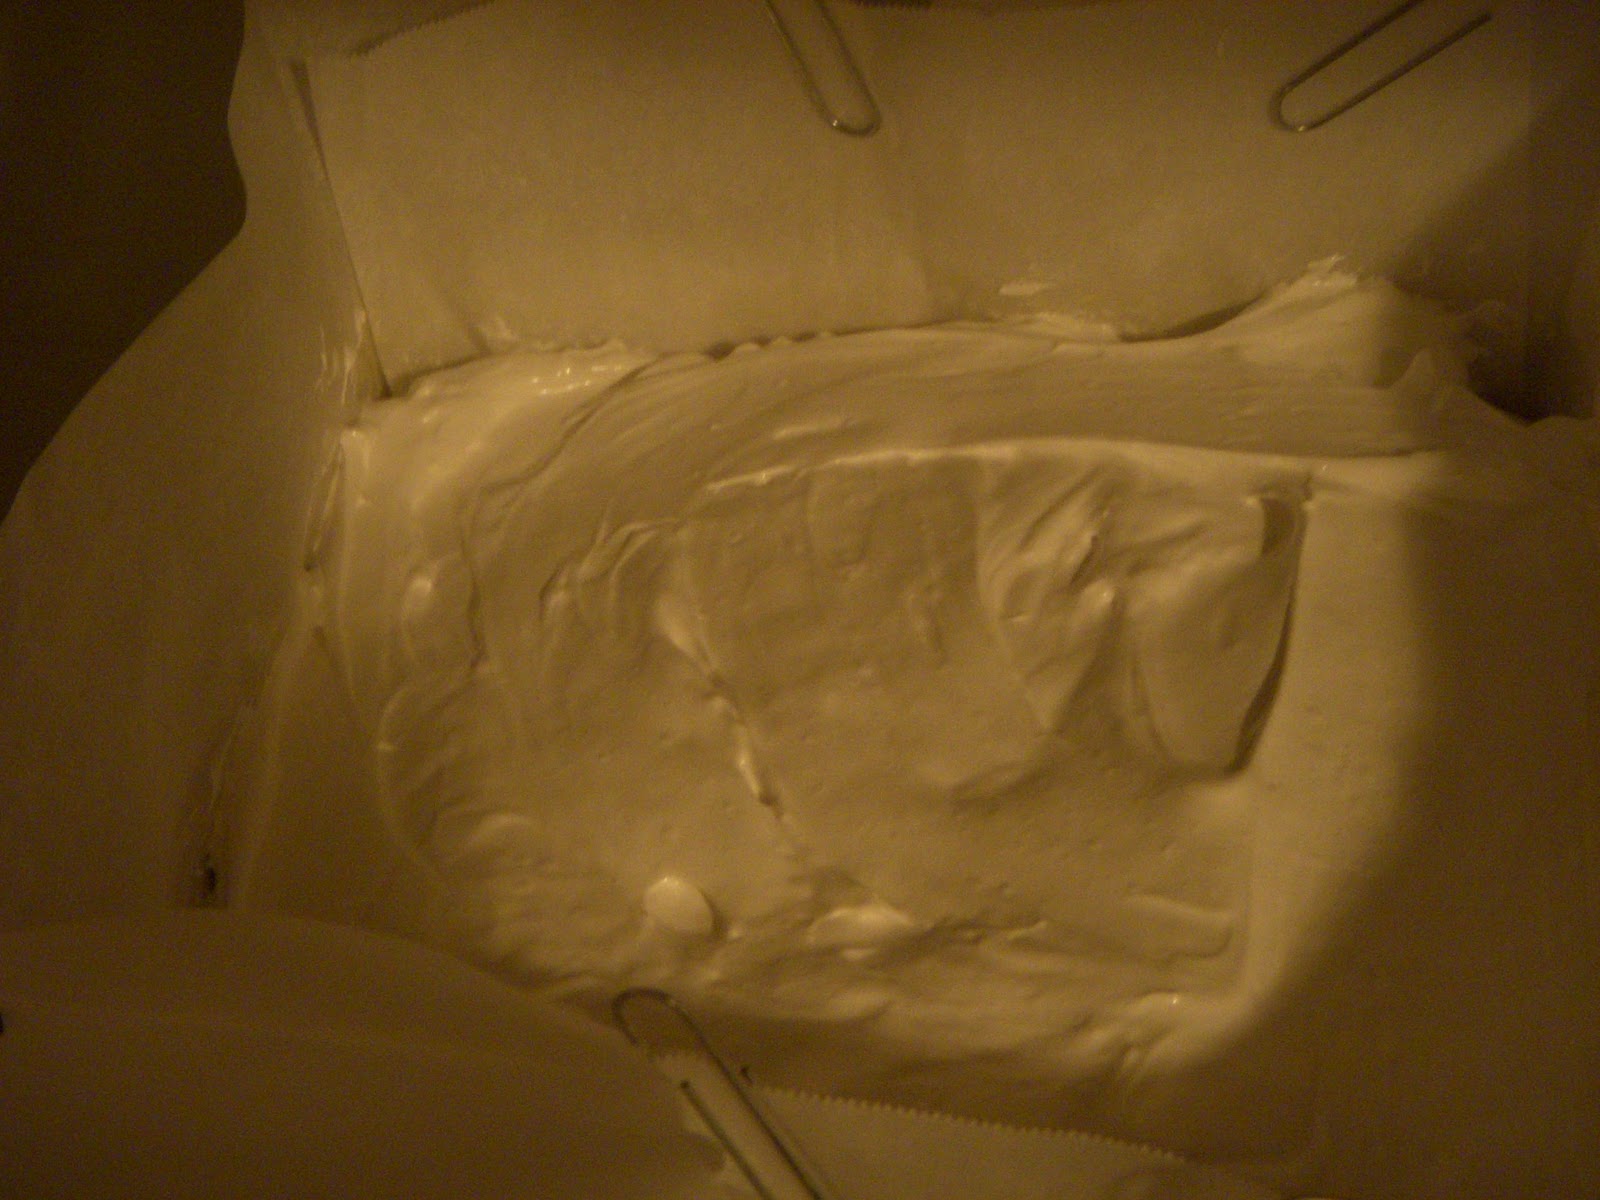
When the marshmallow fluff is ready, pour/spread it into the prepared pan.  It might be difficult.  I think I overbeat mine slightly and it was really thick and stiff already.  I just put a spatula under hot water, and then used that to spread out the top until it was relatively smooth.
Like my paper clips?  They were keeping my parchment structure together

Then let it sit until it's set!  And you'll have deliciously spongy marshmallows.  When cutting, use a thin sharp knife, and run under hot water if it gets too sticky.

Then....take a nice thick graham cracker, top it with a marshmallow, and stick it under the broiler until your marshmallow starts to brown.  Top it with a piece of good quality dark chocolate, and stick it back under the broiler until it melts a little.  Keep it open-faced, or add another graham cracker on top, and enjoy!


Yes, it was really necessary to include all 4 delicious pictures!

Tuesday, October 12, 2010

Long absence + frustration

I can't believe it's been 2 months since I've posted anything.  My absence has been because of a few reasons, and the biggest was because I was without my laptop for almost 5 weeks.  One day at the end of August, Safari was acting a little strange so I restarted my computer (always my default move if something isn't right), and it wouldn't start up.  I ended up taking it to an Apple authorized repair shop (the one good thing was that it's only 1 mile away), and was then without a computer for the next 4.5 weeks.  They had to replace the battery, the top case, the bottom case, and worst of all - my hard drive.  The computer was gone so long because of the slow data recovery process.  That was the only part I had to pay for, since my computer is still under warranty, but it was worth it.  I would have cried if I had lost all of my pictures, music, and files.  So I wasn't able to post anything because of first, the obvious reason of not having my computer, but also, because I didn't have the pictures of anything I had made recently.  I'm still not sure if they recovered all of my pictures.  Every picture on my computer was put in one big dump folder, with many many duplicates, and a ton of junk images.  It all added up to 65,000 - how crazy is that?

So now I've had my computer back for 2 weeks, but why haven't I posted anything yet?  I think I've just been frustrated lately.  Frustrated that I'm not really losing weight, even though I've been trying for the past two months.  Frustrated that I've been so lazy lately - both in lab and at home.  And I'm sick of being frustrated.  This morning I went on my first run in 2 weeks and it felt great!  (Actually, now that I think of it, I haven't mentioned running at all before.  That's because I started running the same week I lost my computer.  I was really good for the first month, and then started slacking the last few weeks or so.)  I signed up for my very first 5k (not counting my pitiful attempt at cross country when I was 15 - wow, almost 10 years ago!) for this Saturday and I'm excited.  And nervous!  I knew that I really needed to get back into my exercise routine, but that I needed to be careful.  I really don't want to be crazy sore before I even start the race.  If I had been running consistently the past month, this goal might be different, but right now I'm hoping to finish under 40 minutes.  I am NOT a runner by any means, so to do a race at all is a pretty big deal for me.  I'm definitely going to have to walk for part of it.  But one of my good friends is running (/walking) with me, so it should be fun!  And of course it's for a good cause.

Now I just need to post everything I've made in the past two months.  Actually, more than two months.  I was already behind when my hard drive died.  I think I documented all of the recipes, and hopefully I'll remember any changes I made to them.  Unfortunately, there was one recipe that I made up that was not recovered on my computer.  I'll do my best to remember what I put in it.

So be on the look-out for some new posts with lots of yummy food!  I'm hoping that posting again and exercising will keep some of my frustration at bay.