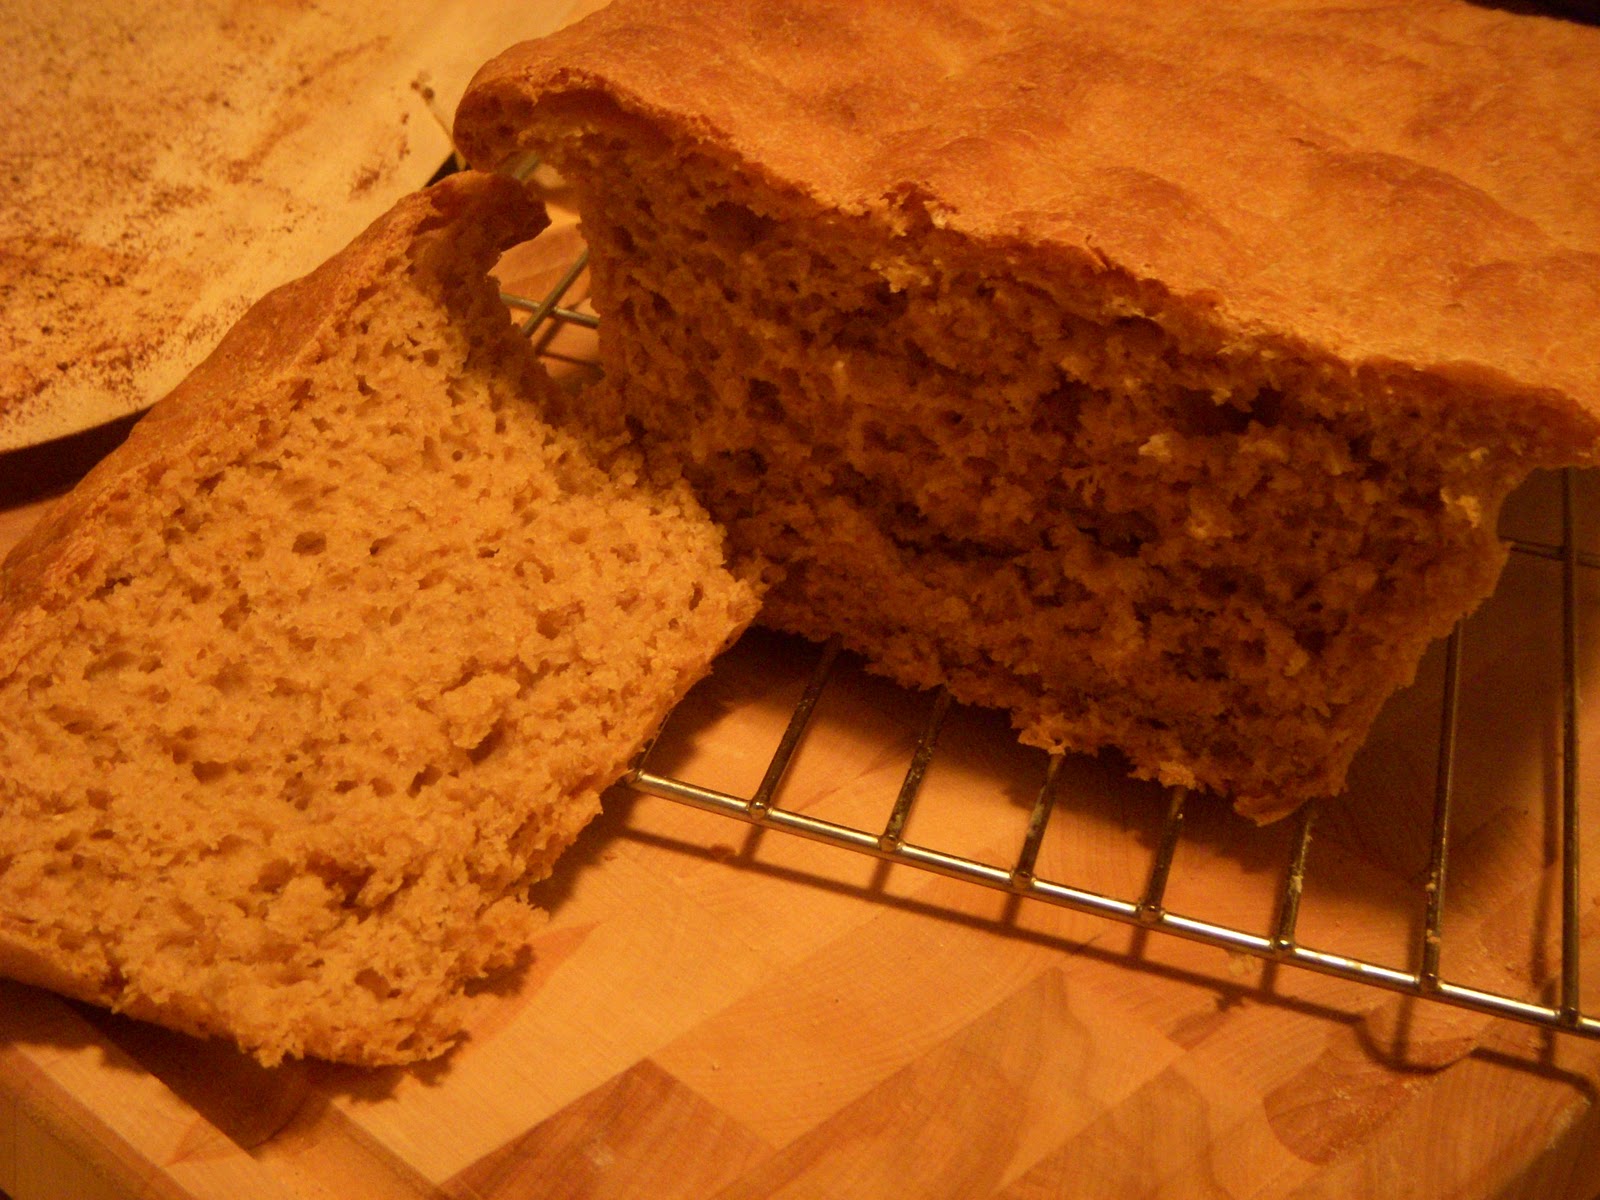
Showing posts with label bread. Show all posts

Thursday, April 7, 2011

Cheddar Serrano Bread

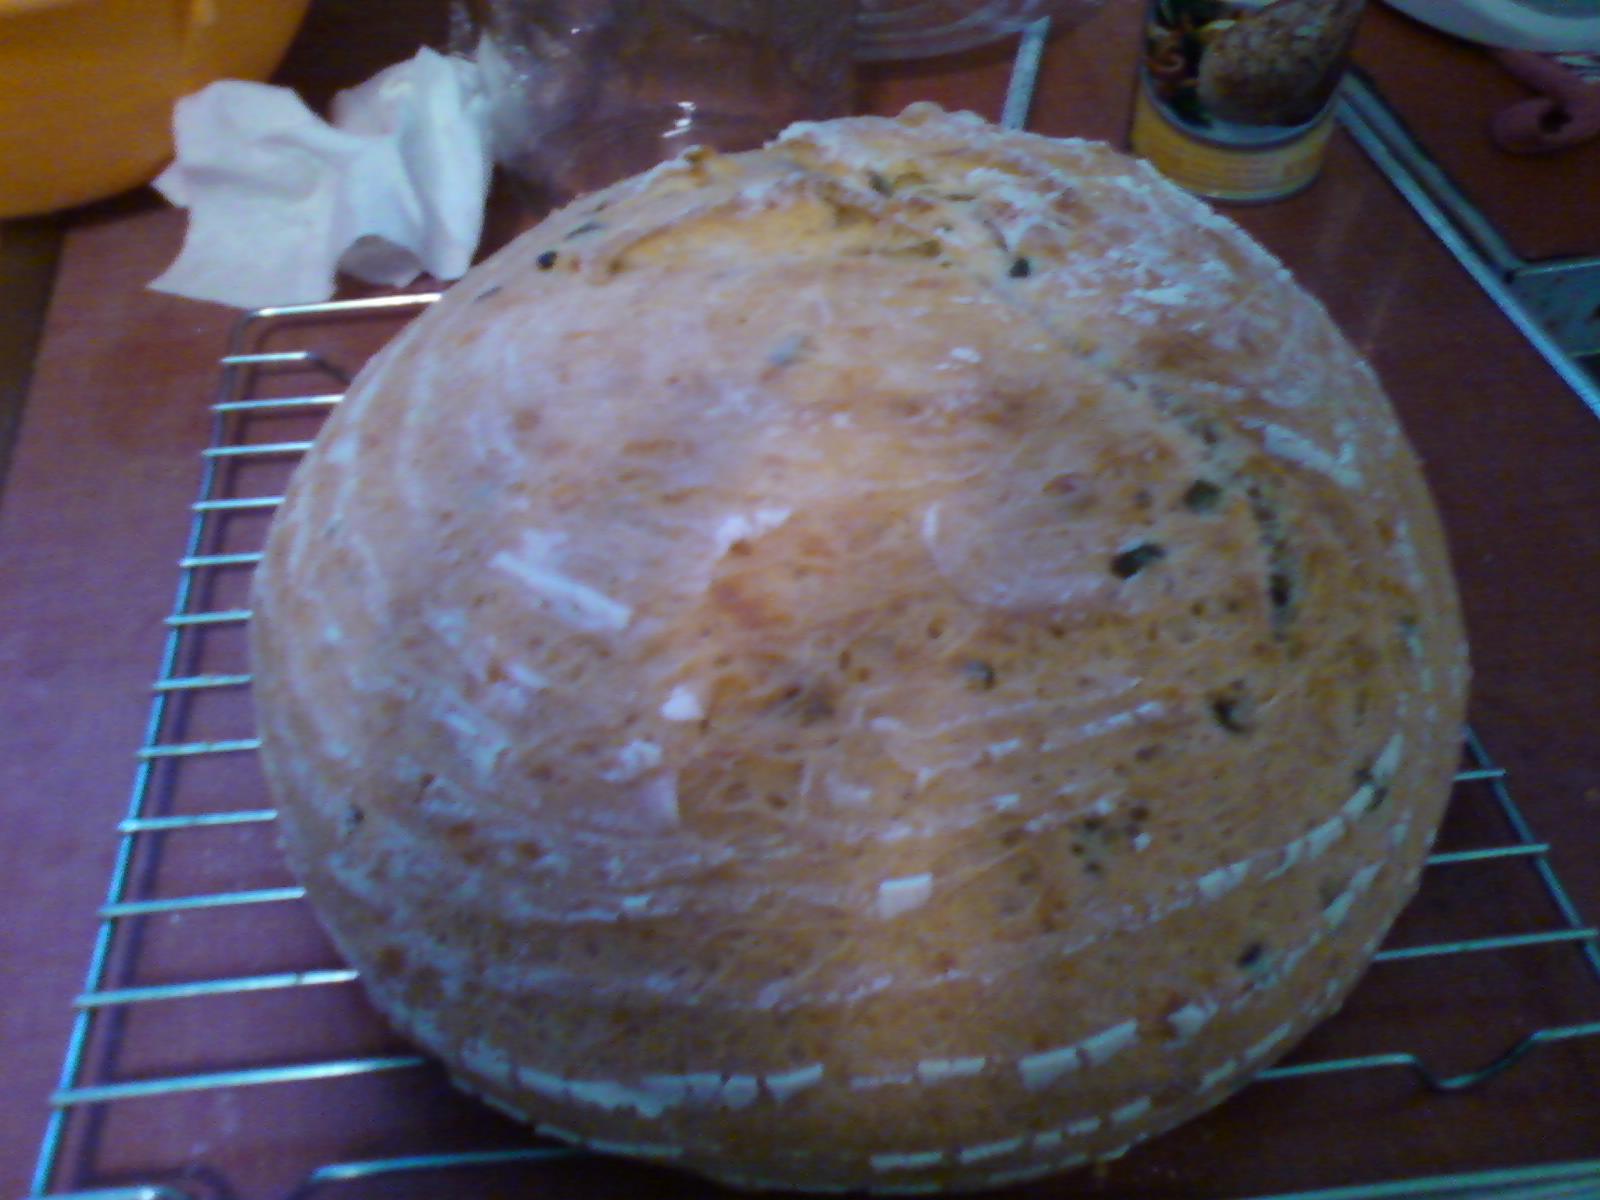
I'm friends with some serious bread bakers.  They have a real brick oven, and have made hundreds of loaves for specialty shops.  When they found out I was interested in bread baking, they procured a banetton and a clay baking dish (cloche).  Then my dad rigged a handle on the cloche so I wouldn't burn myself lifting the hot dish out of the oven.  I wanted to find a great recipe to test out my new baking tools, and I definitely found it with this Cheddar Serrano bread.  I made one HUGE loaf with hit.  I think that the cheddar and peppers added great flavor, and the bread itself had a nice texture.  It stuck a little to the banetton, so I would recommend using a TON of flour.  This would also work well making free form loaves.

Recipe: Cheddar Serrano Bread (from Girlichef)
Ingredients:
2 1/2 tsp yeast
1 cup lukewarm water
1/2 tsp sugar
2 eggs
2 tbsp olive oil
2 1/2 cups bread flour
1 1/4 cups all purpose flour, plus more for dusting workspace
big pinch of sea salt
4 serrano chiles, stemmed, seeded and minced
6 oz extra-sharp cheddar cheese, shredded

Directions:
Dissolve yeast in large bowl with water and sugar.  Stir and let sit 10 minutes, or until bloomed and creamy.

Mix in eggs and oil.  Toss cheese and serranos with flour and salt.  Mix into wet ingredients with wooden spoon.  Turn out onto lightly floured surface and knead until smooth and elastic, ~10-15 minutes.  (You can also use a stand mixer with a dough hook, which would take less time.)  Place in an oiled bowl and cover with plastic or a slightly damp towel.  Let rise until doubled in size, ~2 hours.  Punch down.

Form dough into a ball and put in a well floured banetton.  Let rise until doubled in size, ~90 minutes.  Preheat oven to 425 deg F in the last 30 minutes, with a pizza stone placed on the center rack.

Transfer to the oven and cover with a cloche, bake for ~30 minutes or until golden and cooked through.


Monday, January 10, 2011

Pita Bread

One hot night this past summer, I had the random idea to make pita bread.  I had a recipe, and the ingredients, so I figured why not?  They turned out pretty well, but I think only the first one puffed up the way it was supposed to.  The rest puffed in parts, so I couldn't cut them open and stuff them, but they were still delicious to dip into hummus.  Okay so only problem now - I CAN'T FIND THE RECIPE I USED!  And it was so long ago, that I can't remember what it looked like or what ingredients were in it, so I can't match it up to recipes I have saved.  So all I can leave with you are the pictures, unfortunately.  Sorry this is such a tease post!


Tuesday, October 19, 2010

Artisan Bread in 5 Minutes a Day

Now that I have a pizza stone (not sure if I mentioned this, but I bought one!), I can make the bread and follow the directions exactly.  I've already posted the instructions, so this time I just want to post the beautiful pictures of my beautiful bread.


Easier isn't always better

I have a bunch of goat cheese I need to use up, and I thought that a creamy sandwich spread would be delicious.  Only problem - no bread.  So I looked to see if I had any simple recipes, and found one that was perfect.  Very few ingredients, it only makes one loaf, and no kneading required.  I wanted a lighter wheat bread, so I did a 1:2 ratio of wheat to all purpose flour, instead of the 2:1 ratio in the original recipe.  The recipe said to cover the loaf pan with a floured tea cloth during the second rise - since I let mine rise in the oven with the oven light on, I didn't cover it at all.

So this is the good.  The bad....
Well this didn't turn out at all how I thought it would.  I should have been worried after the second rise - the dough rose so high above the top of the pan that I thought it was going to collapse onto itself.  After 10 minutes of baking, some of it had actually dripped down onto the bottom of the oven.  Thank goodness I caught it before anything started burning.  After less than 20 minutes, the top of the bread was completely brown and hard, so I took it out.  I let it cool on a wire rack, in the pan for a while, and then took it out.  The bottom of the loaf was soggy and spongy.  I'm thinking I'm going to have to toss it.

All in all - this sounds like a great loaf of bread, but unfortunately didn't work out for me.  I don't know if I didn't add enough flour, if it rose too much before baking, if it needed to be baked at a lower temperature, or what!  I'm including the recipe anyway in case someone is brave enough to try and see if this works for them.


Recipe: Whole Wheat Sandwich Bread (from One Perfect Bite)
Ingredients:
1 packet active dry yeast
1 1/2 cups warm water
2 tbsp molasses
2 cups all purpose flour, divided
1 cup whole wheat flour, divided
2 tbsp butter, softened
1/2 tsp salt

Directions:
In the bowl of a stand mixer, combine the water, yeast and molasses.  Let sit for ~ 5 minutes, until foamy.  Add 1 cup all purpose flour, 1/2 cup whole wheat flour, butter and salt; mix on medium speed for 2 minutes.  Add remaining flour, and mix just until combined.
Cover the bowl with plastic wrap and sit in a warm spot ~ 1 hour, or until doubled in size.

Pour into a greased 9x5 inch loaf pan.
Cover with a flour-coated tea towel and let rise in a warm spot, or until it fills the pan.

Preheat the oven to 400 F.  Bake in the center of the oven for 30 minutes.  Cool in pan, and then cool completely on a wire rack.


Wednesday, June 23, 2010

Bread in 5 Minutes a Day

Now that I have a working sourdough starter, I want to do a lot with it.  I decided to try using it with the ABi5 dough.  Of course I made this a while ago, and I don't remember exactly how much starter I used.  I know that I calculated everything by weight - the recipe is given in cups, but they include how much flour usually weighs and I calculated the weight based on that.  And I took the amount of sourdough starter I used and subtracted half of that from each the water and flour weight totals.  I used the whole wheat starter and the equivalent of 1 cup of rye flour, the rest was AP unbleached.  Of course I meant to make several loaves from the bucket of dough, but only managed to use it once.  I now have it sitting in my fridge and really should dump it out.
The dough was really hard to work with!  I don't know if I didn't measure right, but it was extremely liquid-y.  To the point where when I grabbed a handful to make a loaf, half of it stuck to my hands and any surface I put the dough on.  The loaf also didn't rise very much in the oven.  But I have to say, the flavor was pretty good.  I was busy so I sliced and froze the whole loaf right away, and I've only had a few slices from it.  I'll have to try it again once I have more time.  I am borrowing the book from the library, and I'm probably going to buy it soon.

Saturday, May 22, 2010

My Adventures with Sourdough

It has been way too long since I've posted anything.  I have no excuse for it.  I've actually done a lot of baking/cooking, and I really need to post what I've made so I don't forget to write about anything.  Somehow, even though class are over (at least until August), I've still been really busy.  That's definitely due to the fact that I jumped right back into things in lab.  The weather has been so gross lately that I figured I would rather be in the lab, being productive.  So lab, combined with a week-long clinical rotation in surgical pathology, has completely worn me out.  I can't really complain though.  And I still had enough time to watch the entire first season of Vampire Diaries last week!  It was really good actually.

But back to food.  I'm going to do separate posts for everything I've made, and I will attempt to do it chronologically.  Not that it makes any difference to you!

A few posts back I talked about receiving a sourdough starter in the mail.  As soon as exams were over, I was very excited to use it!  When I received it, the first thing I did was add 1.5 cups warm water and 2 cups flour (a combination of all purpose and whole wheat flour), and let it sit out at room temperature for 24 hours.  I may be repeating myself from the previous post.  Then I let it sit in the fridge, undisturbed, for one week.  After that I was set to use it!

This first recipe came from the person who sent me the starter.  She's been making it for quite some time now!  It's a great sandwich bread, and doesn't have a typical tangy sourdough flavor.  I'm definitely going to do some experimenting with the starter.  This was a great beginning recipe.

Whole Wheat Sourdough Sandwich Bread
Ingredients:
Sponge:
1/4 cup sourdough starter
1 cup warm water
1 cup + 2 tbsp whole wheat flour

Bread:
1/2 cup warm water
2 tbsp sugar
1 tbsp olive oil
3/4 tsp salt
2 1/2 cups unbleached all purpose flour, sifted

Directions:
If your sponge has some liquid on top, stir it back in.
Mix together the sponge ingredients.  Put it in a warm place for 8-12 hours.
After the time is up, stir the sponge (it should be springy from the gluten).
Keep 11 oz to use for the recipe, and mix the rest back in with the starter in the fridge.
Mix the water, sugar, olive oil and salt together until it is all dissolved.  Add this to the 11 oz of sponge.
Add 1 cup of flour to the batter and stir 100 strokes (all in the same direction) to build gluten.
Add the rest of the flour, 1/2 cup at a time, stirring well each time until it is incorporated before adding more.  Add only enough to form a ball of dough that is not too sticky.
Lightly flour a surface, and knead the dough for at least 5 minutes.  Add more flour as necessary.
Oil a large bowl.  Form the dough into a ball and rub it against the bowl to coat with oil, and cover the bowl with a cloth or plastic wrap.
Let it rise in a warm place for about 2 hours, or until doubled.  Test with two fingers - if the imprint remains, then it is ready.
Punch it down to remove air.  Fold over edges of dough about five times, going in a circle.  Turn dough over and return to the warm place for 1/2 hour to rest.
Oil and flour a 9x5 loaf pan.  Flatten the dough to remove air pockets.  Roll both side edges to the center, meeting in the middle.  Pinch together really well to seal it at the center.  Fold in the two ends, and flip it over, so the seam is facing down in the loaf pan.  Set it so it is touching the pan on all sides.
Cover lightly and let rise about 1-1.5 hours, until it fills the pan.
Preheat oven to 375.  Bake for 45 minutes.  If it is starting to get too dark, cover with foil.
Thump the loaf on the bottom with your finger, it is done if it sounds hollow.
Remove from the pan immediately and cool to room temperature on a cooling rack.
Don't cut into it when it's still hot, even though you really want to!