Sunday, August 15, 2010

Bagels again, but with a twist (plus graham crackers)

Weeks ago (which shows again how behind I am), one of my friends came over for what turned into a 2 day cooking marathon.  Why we chose the weekend it was over 100 degrees, I really don't know.  My kitchen was like a sauna.  On the second day of cooking, I had to take 3 showers to cool myself off.  But we did have some really delicious results!  The main point of this cooking adventure was to show Sarah how to make homemade bagels.   We made a lot - one dozen for each of us.  Most were the typical bagels I've made before - plain with some toppings.  And then we decided to experiment a little.  We made some with fresh blueberries pushed into the middle, and some with cinnamon sugar and raisins.  The blueberries exploded in those!  But they still tasted really good.  I wish I had taken pictures.  Next time I'll have to try with dried blueberries.
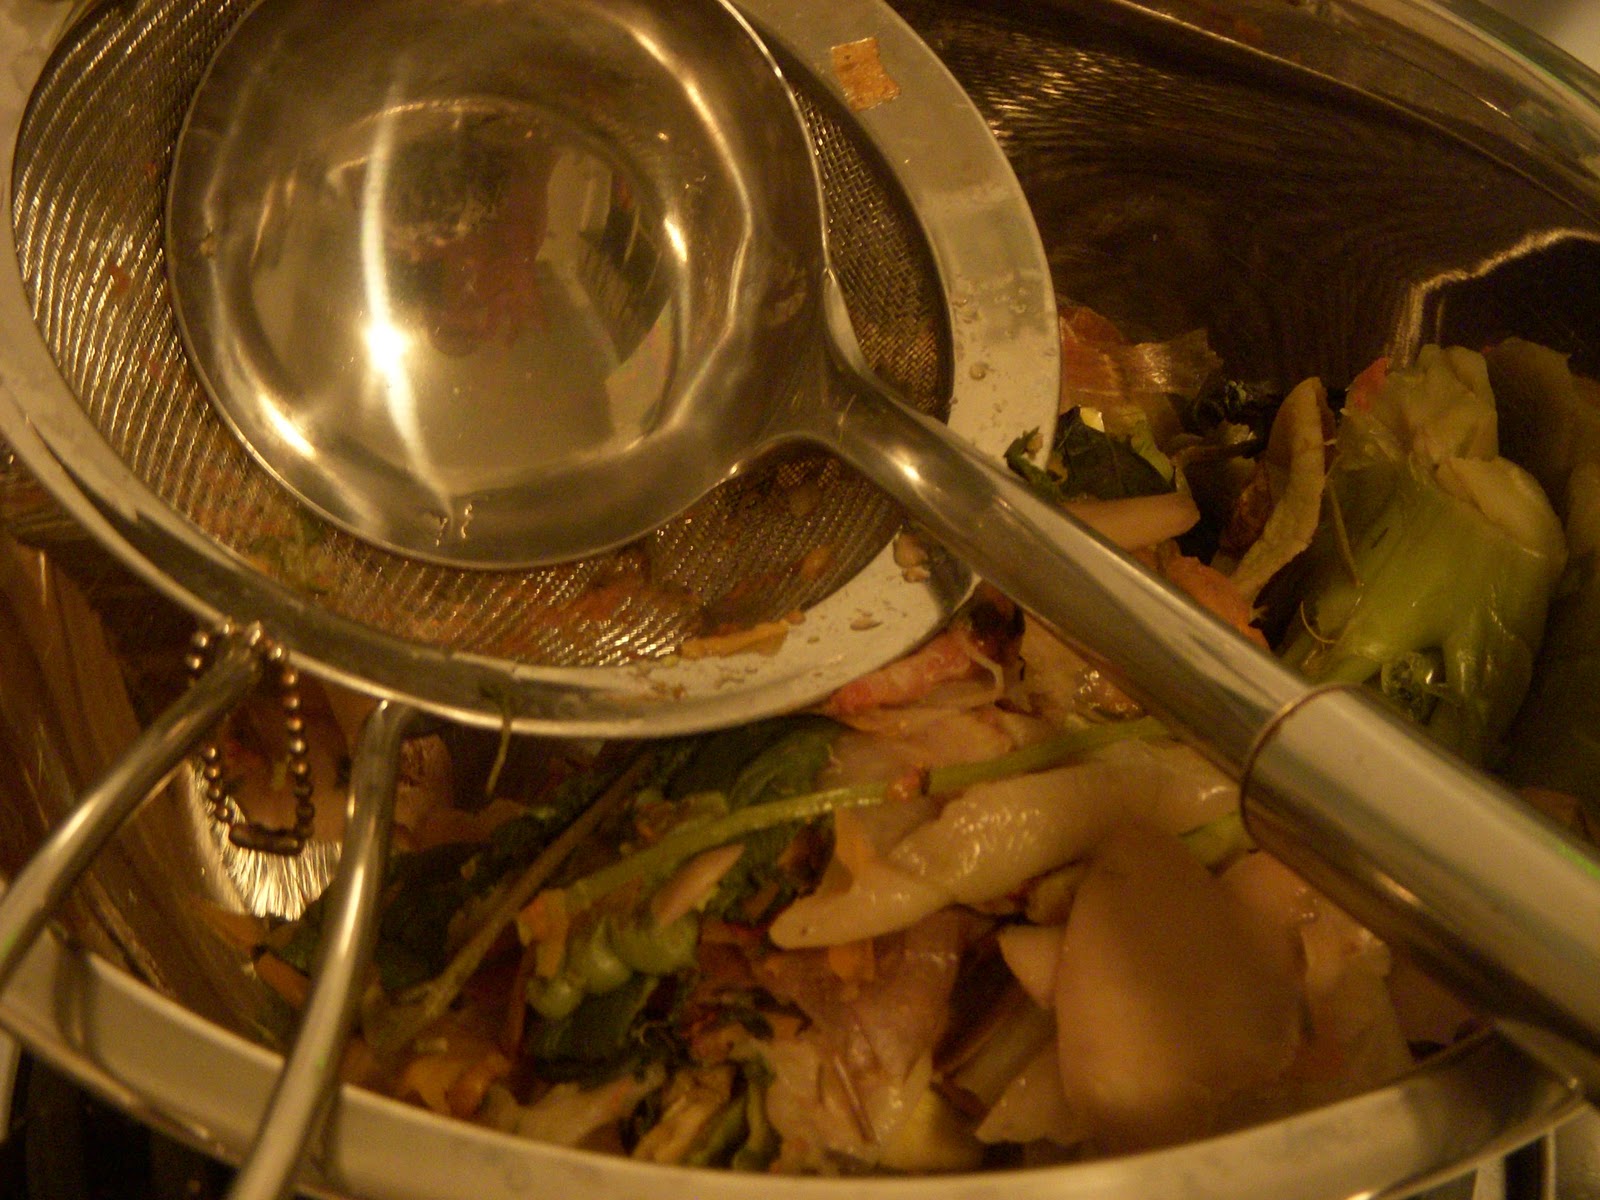
I really don't remember if I mentioned this any of the other times I posted about bagels, but I kept on noticing these shiny, hard brown pebbles forming while kneading the dough.  It almost looked like the color of yeast, and since I didn't have it happen the first time I made it, without yeast, I figured it probably was that.  This time when I made the bagels, Sarah and I were making our own batches side by side.  And I did an experiment - with mine, I added the yeast in the order it said on the recipe, which was somewhere in the middle.  And in hers, I had her add it at the very end.  I had the pebbles - she didn't.  So I'm thinking that when the yeast is added before you mix everything up, it won't distribute itself in the dough.  It's a good thing I was using a sourdough starter, since I picked out all of the pebbles, essentially all of my yeast.
I decided randomly that I wanted to make homemade graham crackers.  Well it wasn't a random decision, I'd been thinking about making it for a while, it was just a random addition to everything else we were making.  It turned out pretty well, and I would definitely make them again - but not when it's 100 degrees in my kitchen!  The dough was really sticky, and I wasn't able to roll them as thin as I was supposed to, so they were a little too thick = chewy.  The flavor was amazing though.  I stuck half of the dough in the freezer, and I have to admit that I ate ALL of it.  Raw.  I will be retrying this once the weather is cooler.  That way my kitchen won't be a sauna, plus I can make some homemade marshmallows and get some s'more action happening.
I only made one change in the recipe - I didn't have dark brown sugar so I used light brown, and replaced some of the honey with molasses to give it a richer flavor.

Recipe: Homemade Graham Crackers (from Smitten Kitchen)
Ingredients:
2 1/2 cups + 2 tbsp unbleached all-purpose flour
1 cup dark brown sugar, lightly packed
1 tsp baking soda
3/4 tsp kosher salt
7 tbsp unsalted butter, diced and frozen
1/3 cup honey
5 tbsp milk
2 tbsp vanilla extract
Cinnamon sugar

Directions:
Mix the flour, brown sugar, baking soda and salt in a stand-up mixer with the paddle on low speed.  Add the butter and mix on low, until the mixture is like coarse meal.
In a small bowl, whisk together the honey, milk and vanilla.  Add to the flour mixture and mix on low until everything barely comes together (and is VERY sticky).  Pour onto a piece of plastic wrap, pat into a 1-inch thick disk, wrap up and freeze for at least 2 hours.  (More if it's a hot day.)
Divide the dough in half and put one half back in the freezer.  Roll the dough on a lightly floured surface until about 1/8 inch thick.  Cut into strips or shapes (see Smitten Kitchen for better instructions), and place on a parchment paper-lined baking sheet.  Sprinkle with the cinnamon sugar.  Chill in the fridge or freezer until firm, and repeat with the second half of the dough.
Preheat oven to 350 F.  Bake cookies for 15-25 minutes, rotating the sheet halfway through.
They all smooshed together!

Homemade Vegetable Stock

So...I made homemade vegetable stock!  I saw the idea on a blog months ago, and promptly decided to start saving all of my veggie scraps in the freezer.  I kept on thinking that I didn't have enough veggies to fill my pot.  Let's just say that I definitely overestimated the size of my pot.  When I finally decided to make the stock, I could only fit maybe half of the veggies I had in the pot.  I wanted to get as much as I could out of the veggies, so I cooked everything for a total of 4 hours (Christina only did 3), and I added water to refill the pot at the 1, 2 and 3 hour marks.  I really don't have a recipe for this - like Christina, I just threw all of the veggie scraps I had been saving into the pot, added some dried and fresh herbs, and let it do its thing!  I think that my veggie scraps included onions, leeks, carrots, tomatoes, eggplant, zucchini, potatoes and bell peppers.  I had frozen a bunch of wilted basil a while ago I threw in.  I also put in a big handful of garlic cloves and a few bay leaves.  At the 2 hour mark I added a generous sprinkling of herbs de provence and coarsely grated black pepper, and at the 3 hour mark I added 1 tbsp salt.  I figured I had maybe half of what Christina did, and she used 2 tbsp and said it wasn't very salty.  I thought it was a bit salty, which is why I kept on adding water when it cooked down.  Next time I would probably add a little less salt.  All in all this is a GREAT way to get everything you can out of your veggies, and make a really healthy and flavorful stock.
And I used this stock to make a really great soup!


My straining apparatus

Look at all of that stock! Almost 4 quarts!

The cooked veggies at the end - barely anything left!

My Review of Imperia Home Pasta Machine

Originally submitted at CSN Stores

  • 6 inch wide roller
  • Includes double cutter for spaghetti and fettuccine
  • Attachments available
Enjoy the satisfaction of making fresh pasta right in the comfort of your own home with CucinaPro's Manual Restaurant. This profes...

Works great, but learn Italian!
By Jen from Charlottesville, VA on 8/15/2010
4out of 5
Pros: Easy To Clean, Easy to Use
Cons: Weight Is Imbalanced
Best Uses: Kitchen
Describe Yourself: Avid Cook
Primary use: Personal
I have used this twice so far and it works really well! So far I just have some minor issues with it. First - the instructions are in Italian! Good thing it was easy to put together. However, there's one piece I have no idea where to put. I've rolled out sheets of noodles for lasagna and ravioli, and I've made cut noodles with the fettuccine attachment. The handle won't fit very well into the spaghetti attachment, so I'll have to call CSN. Also, if you're clamping it to your counter, I would recommend putting the cutting attachment on it, even if you aren't using it. Its weight isn't evenly distributed and the cutting attachment helps keep it in place.

Friday, August 6, 2010

So behind!

It is embarrassing how long it's been since I last posted!  I expected to come back and find that all of my followers had given up on me.
It looks like I just posted my previous post, but I actually wrote that up weeks ago and just now added the pictures.  I've been such a slacker lately.  And I haven't been doing that much cooking.  I was away for a week in Minnesota for an Immunology course, and I did some cooking before I left, but haven't done any since I got back!  As usual, I'm going to try to break up the recipes to one per post, and in chronological order of course.  Not that the order even matters.  But just ask my friends - when I tell any kind of story, it must be in order.  
I think the girls night I had with a few of my friends is the perfect place to start.  It started out as a movie night, and then I said I would make dessert (surprise surprise), and then my friend J said she would cook dinner, then we decided we needed movie snacks...let's just say there was a lot of food!
It was so much fun.  And the food was amazing!  My friend J made Korean sushi, called Kimbap.  She had the bamboo roller and cool seaweed sheets, and even let us help her make roll them up!


We assembled a TON!  And then somehow ate most of them.  We made a lot without meat, for my benefit, which I definitely appreciated :)


Don't they look so perfect?
While we were stuffing ourselves with Kimbap, I stuck my crumble in the oven.  Oh it was so delicious! And it smelled so good while it was cooking.  If you have fresh peaches and berries, please make this recipe!
By the way, I think the distinction between crumbles, crisps and cobblers is pretty funny.  Just in case you're wondering, crisps have a topping that includes oats, crumbles have a thick, almost cookie dough-like topping that is, you guessed it, crumbled on, and cobblers have a biscuit topping on top.  
This recipe is really easy.  I was multi-tasking, of course, so I had the topping going in the mixer while I was doing other things.  It was still in very dry crumbs so looked like it had a while before it would come together.  I turn back around and the whole thing had come together in a big ball, and looked just like cookie dough!  Whoops!  But...it still turned out very well and tasted amazing.  I was reading the reviews on the Food Network website, and some people mentioned that the topping was a little doughy, but delicious.  Maybe they did the same thing I did :)
The only thing I did to change it was to replace half of the blueberries with some raspberries I had picked and frozen in June.  I think they added a necessary tartness to the really sweet dish.  And they made the sauce really pretty!  I'm sure any fruit combination would work for this recipe.
Oh, and Ina made individual crumbles - I just threw it all together in a gratin dish.

Recipe: Peach and Blueberry (and Raspberry) Crumble (from Barefoot Contessa)
Ingredients:
Fruit:
2 lbs firm, ripe peaches (6-8)
2 tsp grated lemon zest
2 tbsp squeezed lemon juice
1/2 cup sugar
1/4 cup flour
1/2 cup fresh blueberries
1/2 cup frozen raspberries

Crumble:
1 cup all-purpose flour
1/3 cup sugar
1/4 cup brown sugar, lightly packed
1/2 tsp kosher salt
1/4 tsp ground cinnamon
1 stick cold unsalted butter, diced

Directions:
Preheat oven to 350 F.
Peel the peaches - the easiest way is to put them in boiling water for 30 seconds-1 minute, then put them in a bowl of ice water.  The skins will peel off easily, but only if they are ripe enough.  If that doesn't work, just use a vegetable peeler.  Slice the peaches into thick wedges, and toss in a bowl with the lemon juice, zest, flour and sugar.  Gently mix in the blueberries and raspberries.
For the topping, combine the flour, sugar, brown sugar, salt, cinnamon and butter in the bowl of an electric mixer fitted with the paddle attachment.  Mix on low speed until the butter is the size of small peas.  Rub the mixture with your fingers until it is in big crumbles, and spread over the fruit.  
Place your dish (or ramekins, if you choose to make individual crumbles) on a sheet pan and bake for 40-50 minutes, or until the top is golden brown and the juices are bubbling.  Serve warm or at room temperature.

The unbaked crumbles can be stored in the refrigerator before baking.

Pasta with Spinach, Sun-Dried Tomatoes and Goat Cheese

I have two logs of goat cheese in my fridge that need to be used up by the fall.  Now that's definitely not a difficult thing for me to do.  But I'll take any "excuse" to make something with goat cheese.

This is a dish that I used as inspiration for a meal I made last year, but this time I decided to follow it (almost) exactly.  I used more spinach than it called for because hey, I like spinach.  I didn't have oil-packed tomatoes so I took my dry packed ones, put them in a shallow bowl, and covered them with oil.  And since I was planning on eating this over several days, I added the goat cheese to each individual serving, rather than all at once.  I also cooked the garlic and sun-dried tomatoes right with the spinach, rather than mixing them in with the goat cheese. 

All in all, this is delicious.  The goat cheese gives it a wonderfully creamy sauce.  And I love the flavor of garlicky spinach with sun-dried tomatoes.  I think I got 1 big dinner serving and 2 big lunch servings out of it.

Recipe: Pasta with Spinach, Sun-Dried Tomatoes and Goat Cheese (from Adventures in Shaw)
Ingredients:
4 oz sun-dried tomatoes, packed in oil (or pour olive oil over them a few hours before you use them)
1-2 cloves garlic, minced or crushed
several handfuls of spinach
6-8 oz tagliatelle (I used trader joe's pappardelle)
s&p to taste
pasta water

Directions:
Boil a large pot of salted water for the pasta.  Cook until al dente.
Heat oil from sun-dried tomatoes in a medium skillet on medium heat.  Add garlic - saute for 1 minute and then add the spinach and sun-dried tomatoes.  Add s&p to taste.
Add the cooked pasta directly to the spinach and tomatoes, and toss.  Crumble the goat cheese on top and toss it all together, adding pasta water as needed to thin out the sauce.
Enjoy!